Introduction to Ledger.com/Start
Ledger.com/start is the official onboarding platform for Ledger hardware wallets, designed to guide users through the initial setup process of their Ledger device. The website provides a step-by-step approach, ensuring that users securely configure their wallets and protect their cryptocurrencies.
Setting Up Your Ledger Device
- Unboxing and Connecting: Begin by unboxing your Ledger device, which could be a Ledger Nano S, Nano X, or Nano S Plus. Connect it to your computer using the provided USB cable. For mobile devices, Bluetooth can be used with compatible models like the Ledger Nano X.
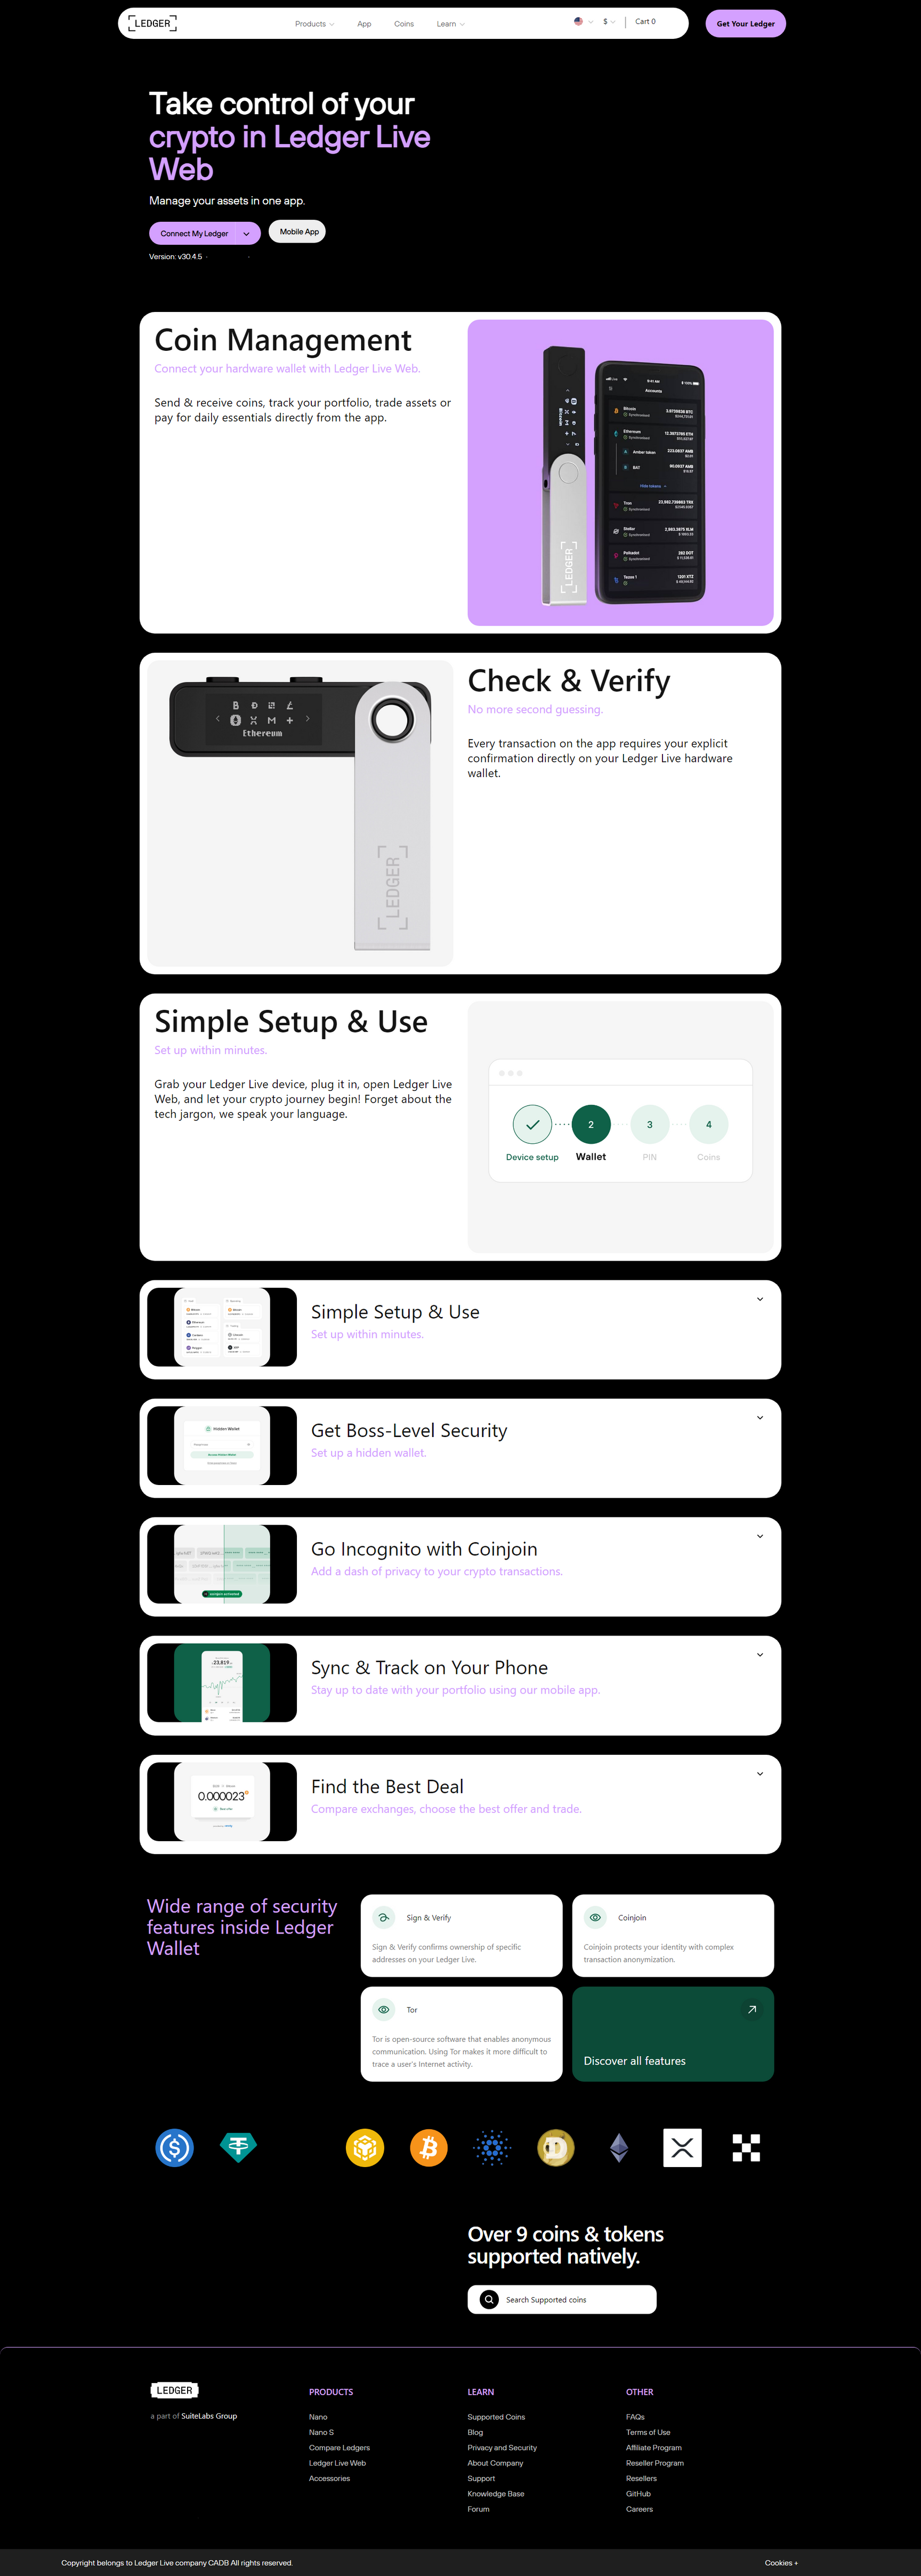
- Installing Ledger Live: Visit ledger.com/start to download the Ledger Live app, the primary interface for managing your Ledger device. Ledger Live is available for Windows, macOS, Linux, Android, and iOS. Install the application and follow the on-screen instructions to pair your device.
- Initializing Your Device: Once Ledger Live is installed, you'll be prompted to set up your device. This includes choosing a PIN code and writing down your 24-word recovery phrase. The recovery phrase is crucial as it is the only way to recover your funds if your device is lost or damaged.
Managing Your Cryptocurrencies
After setup, you can add accounts for various cryptocurrencies via Ledger Live. The app supports a wide range of digital assets, and you can manage your portfolio, send and receive funds, and even stake certain assets directly from the interface.
Conclusion
Ledger.com/start simplifies the process of securing your digital assets. By following the guided steps, users can confidently set up their Ledger device, ensuring their cryptocurrencies are protected against potential threats.